Restoring the batteries' basket - part #4, painting
Time's up! There is still a lot of stuff to do to get the batteries' basket restored and ready to be mounted again... The next thing missing is painting!


 I used at most 400ml out of the 750ml in the can. Bought through an eBay dealer (article number 302185050162) for EUR22.15 (+shipping cost).
The rust treatment got properly cured, and since I'm seeking a panel finishing aspect I can jump directly to final painting (no smoothing nor sanding needed).
In my previous posted I mentioned some of the things I learned searching on the web regarding rust treatment, and why I chose an epoxy based rust converter product like noverox. For painting things get even more complex!! I rapidly understood that this topics require a pretty good level of training and experience, otherwise you can mess it up or end with a rather poor work.
The fact that the finishing apearence in this part is not that important (for me) made things easier. I'm also limited to paints I can apply with a simple brush and that do not require specific temperatures to obtain a perfect curing.
While I was searching for the rust treatment I crossed the Brantho-Korrux 3 in 1 solution. This product is supposed to (1) treat rust, (2) work as a primer and also (3) as a final layer. Although I already dealt the rust problem with noverox, there is no problem in using Brantho-Korrux over it as it is compatible with multiple types of underlayers. I red several positive opinions about it and the fact it does not require any additional preparation of the part and that the outcome is the final layer make it great for my case.
Additionally, given the fact that the batteries' basket is made out of several bended metal sheets (which are prone to deformation with temperature and mechanical stress), it was also important to find a rather elastic paint so it does not end cracking in the future.
To wrap out my positive option on Brantho-Korrux I must refer to its wide color palette, which is not that common in a 3-in-1 product of this type.
The original color of the batteries' basket on the mini-el is mate black. I personally don't like, specially when you open the interior protection or remove the wheel covers and you have a white chassis. To me this part must be the same color as the chassis itself: WHITE!!
Be aware that you have several tones of white in a color palette! A "pure white" would stand out too much, and a "creamy white" would make it look like an old aged part... I want to blend it with the chassis, thus I am beting in a "road white" or more precisely RAL9010.
Having this said, I kicked of with a first thin layer over all edges and corners, and then with larger surfaces.
The good thing about white over black is that you can easily spot where paint is missing or is to thin, hence second layer is easy to do.
I got both first and second layer one after the other with a couple of hours of drying, as the paint gets dry to touch very quickly.
To finalize, I left it dry over night and in the next day I added a final third layer.
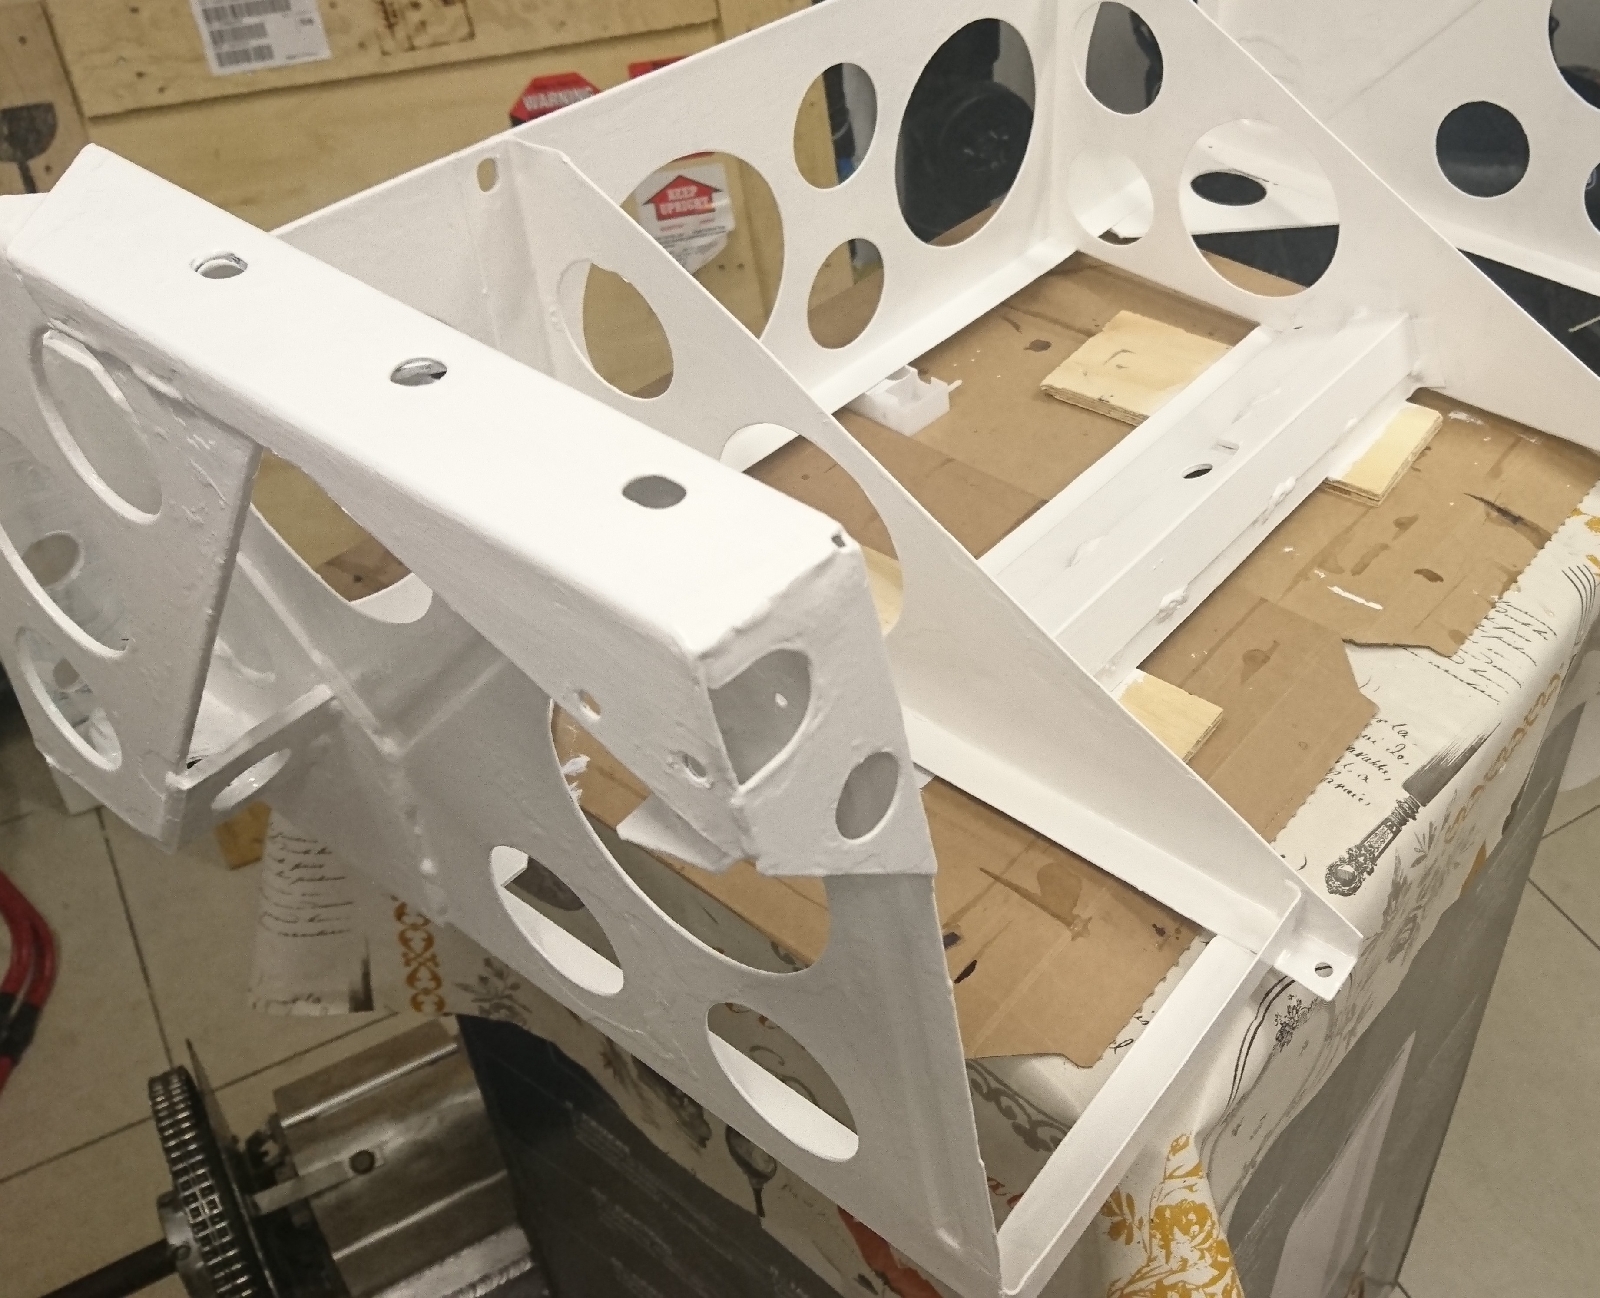
Here's how it looks after the all process
Does not look perfect all over it. The huge amount of edges and discontinuous surfaces make it very difficult have great results using a brush... spray painting would definitely give you a better finishing. Nevertheless, the metal is surely well protected now, and I got exactly the white I was looking for :]
To finish this post, a little note on the Brantho-Korrux: unlike many water based paints, this thing is something that smells super toxic!! You will definitely need a well ventilated place to do this job! Also take some coins of your pocket and buy proper painting mask with chemicals vapors grade filtering, air-tight googles and some gloves! Initially I used simple splash protection glasses and I really regretted the red eyes I got some hours latter!!


Comments
Post a Comment